After nearly 3 years of not making much progress on the N-scale layout, we finally pulled the track up and got our hands dirty with sculptamold and paint:
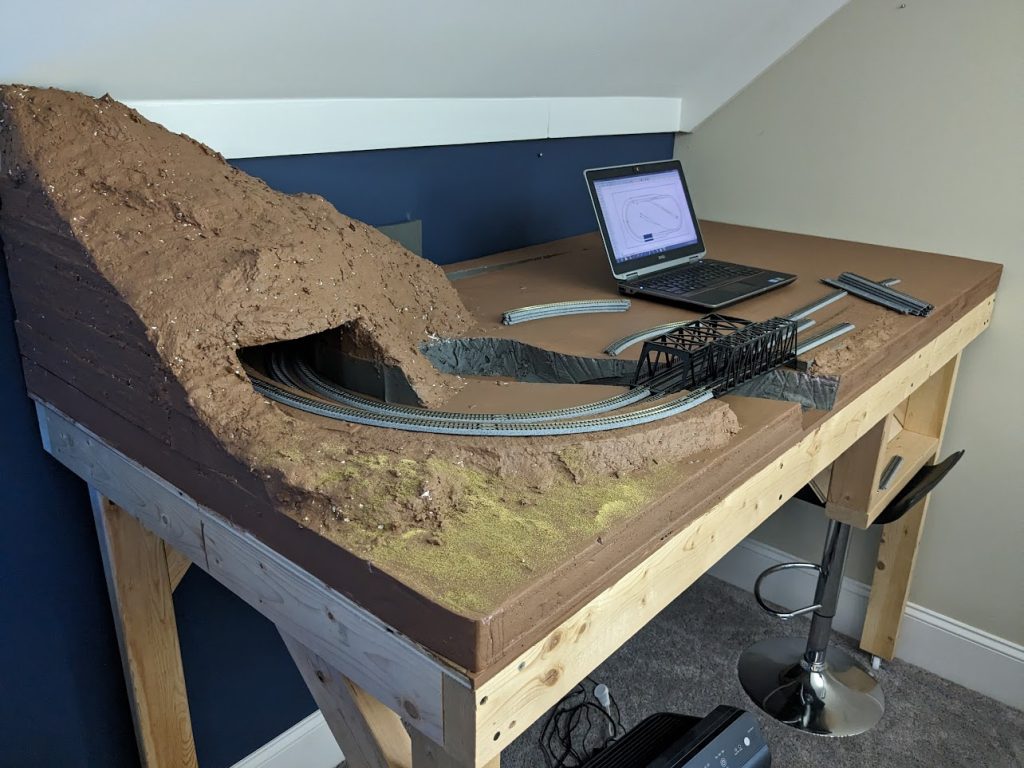
Given we had nearly a full gallon of the brown latex paint we used on the O scale layout, we opted to apply a base coat to the mountain and layout surface, along with some slate grey for what will become the lake/river.
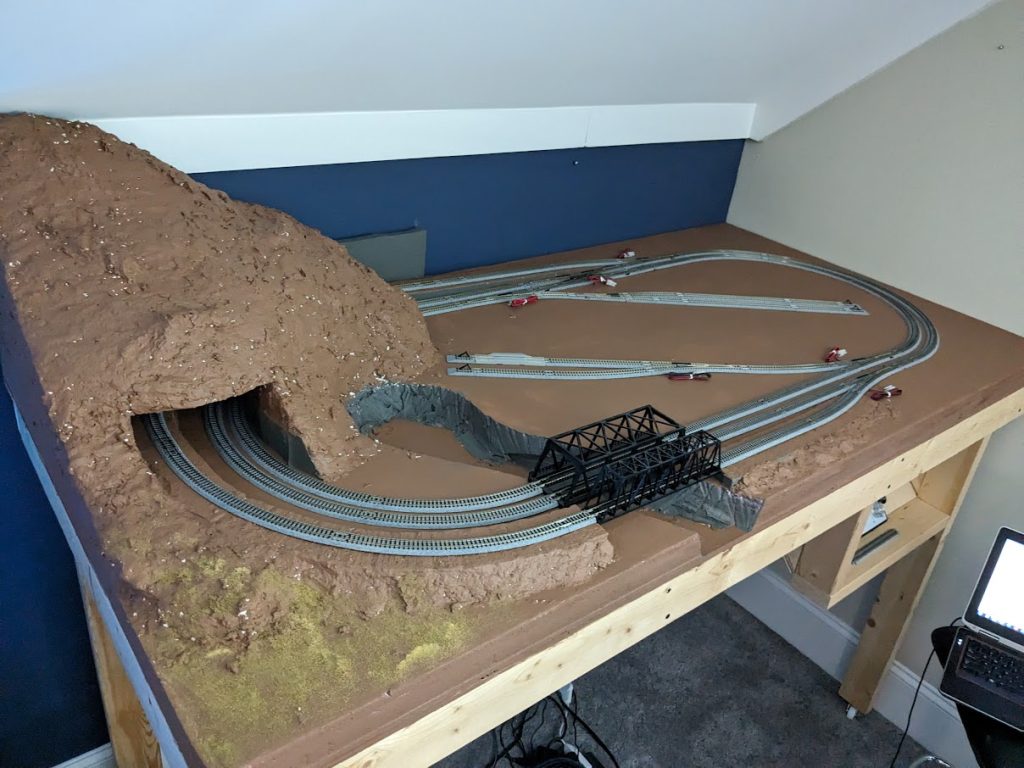
After sculptamold and paint dried, I reassembled the track and permanently installed the turnouts, wiring them into Digitrax switch controllers. I had on hand a DS64 that I had purchased during the initial layout build, which can accommodate four turnouts. The layout has a total of seven, so I needed another controller. What I should have done was just purchase another DS64 as install and programming was simple… what I actually did was purchase a DS74 since it’s the “newer version” of the DS64. While very similar, I learned (the hard way) that the DS74 address assignment is not possible without Loconet (which I don’t use on our small layout). Fortunately out-of-the-box, the terminals are assigned 1-4, so I reprogrammed the DS64 to be 5-8. It’s not ideal, as I had planned on laying out the turnout assignment to be counterclockwise, outside in, but I had stripped the leads for the turnout connections to near exact length. What I may do is physically swap the DS74 with the DS64 position, but for the time being I just use a labeled layout map to know which turnouts to throw.
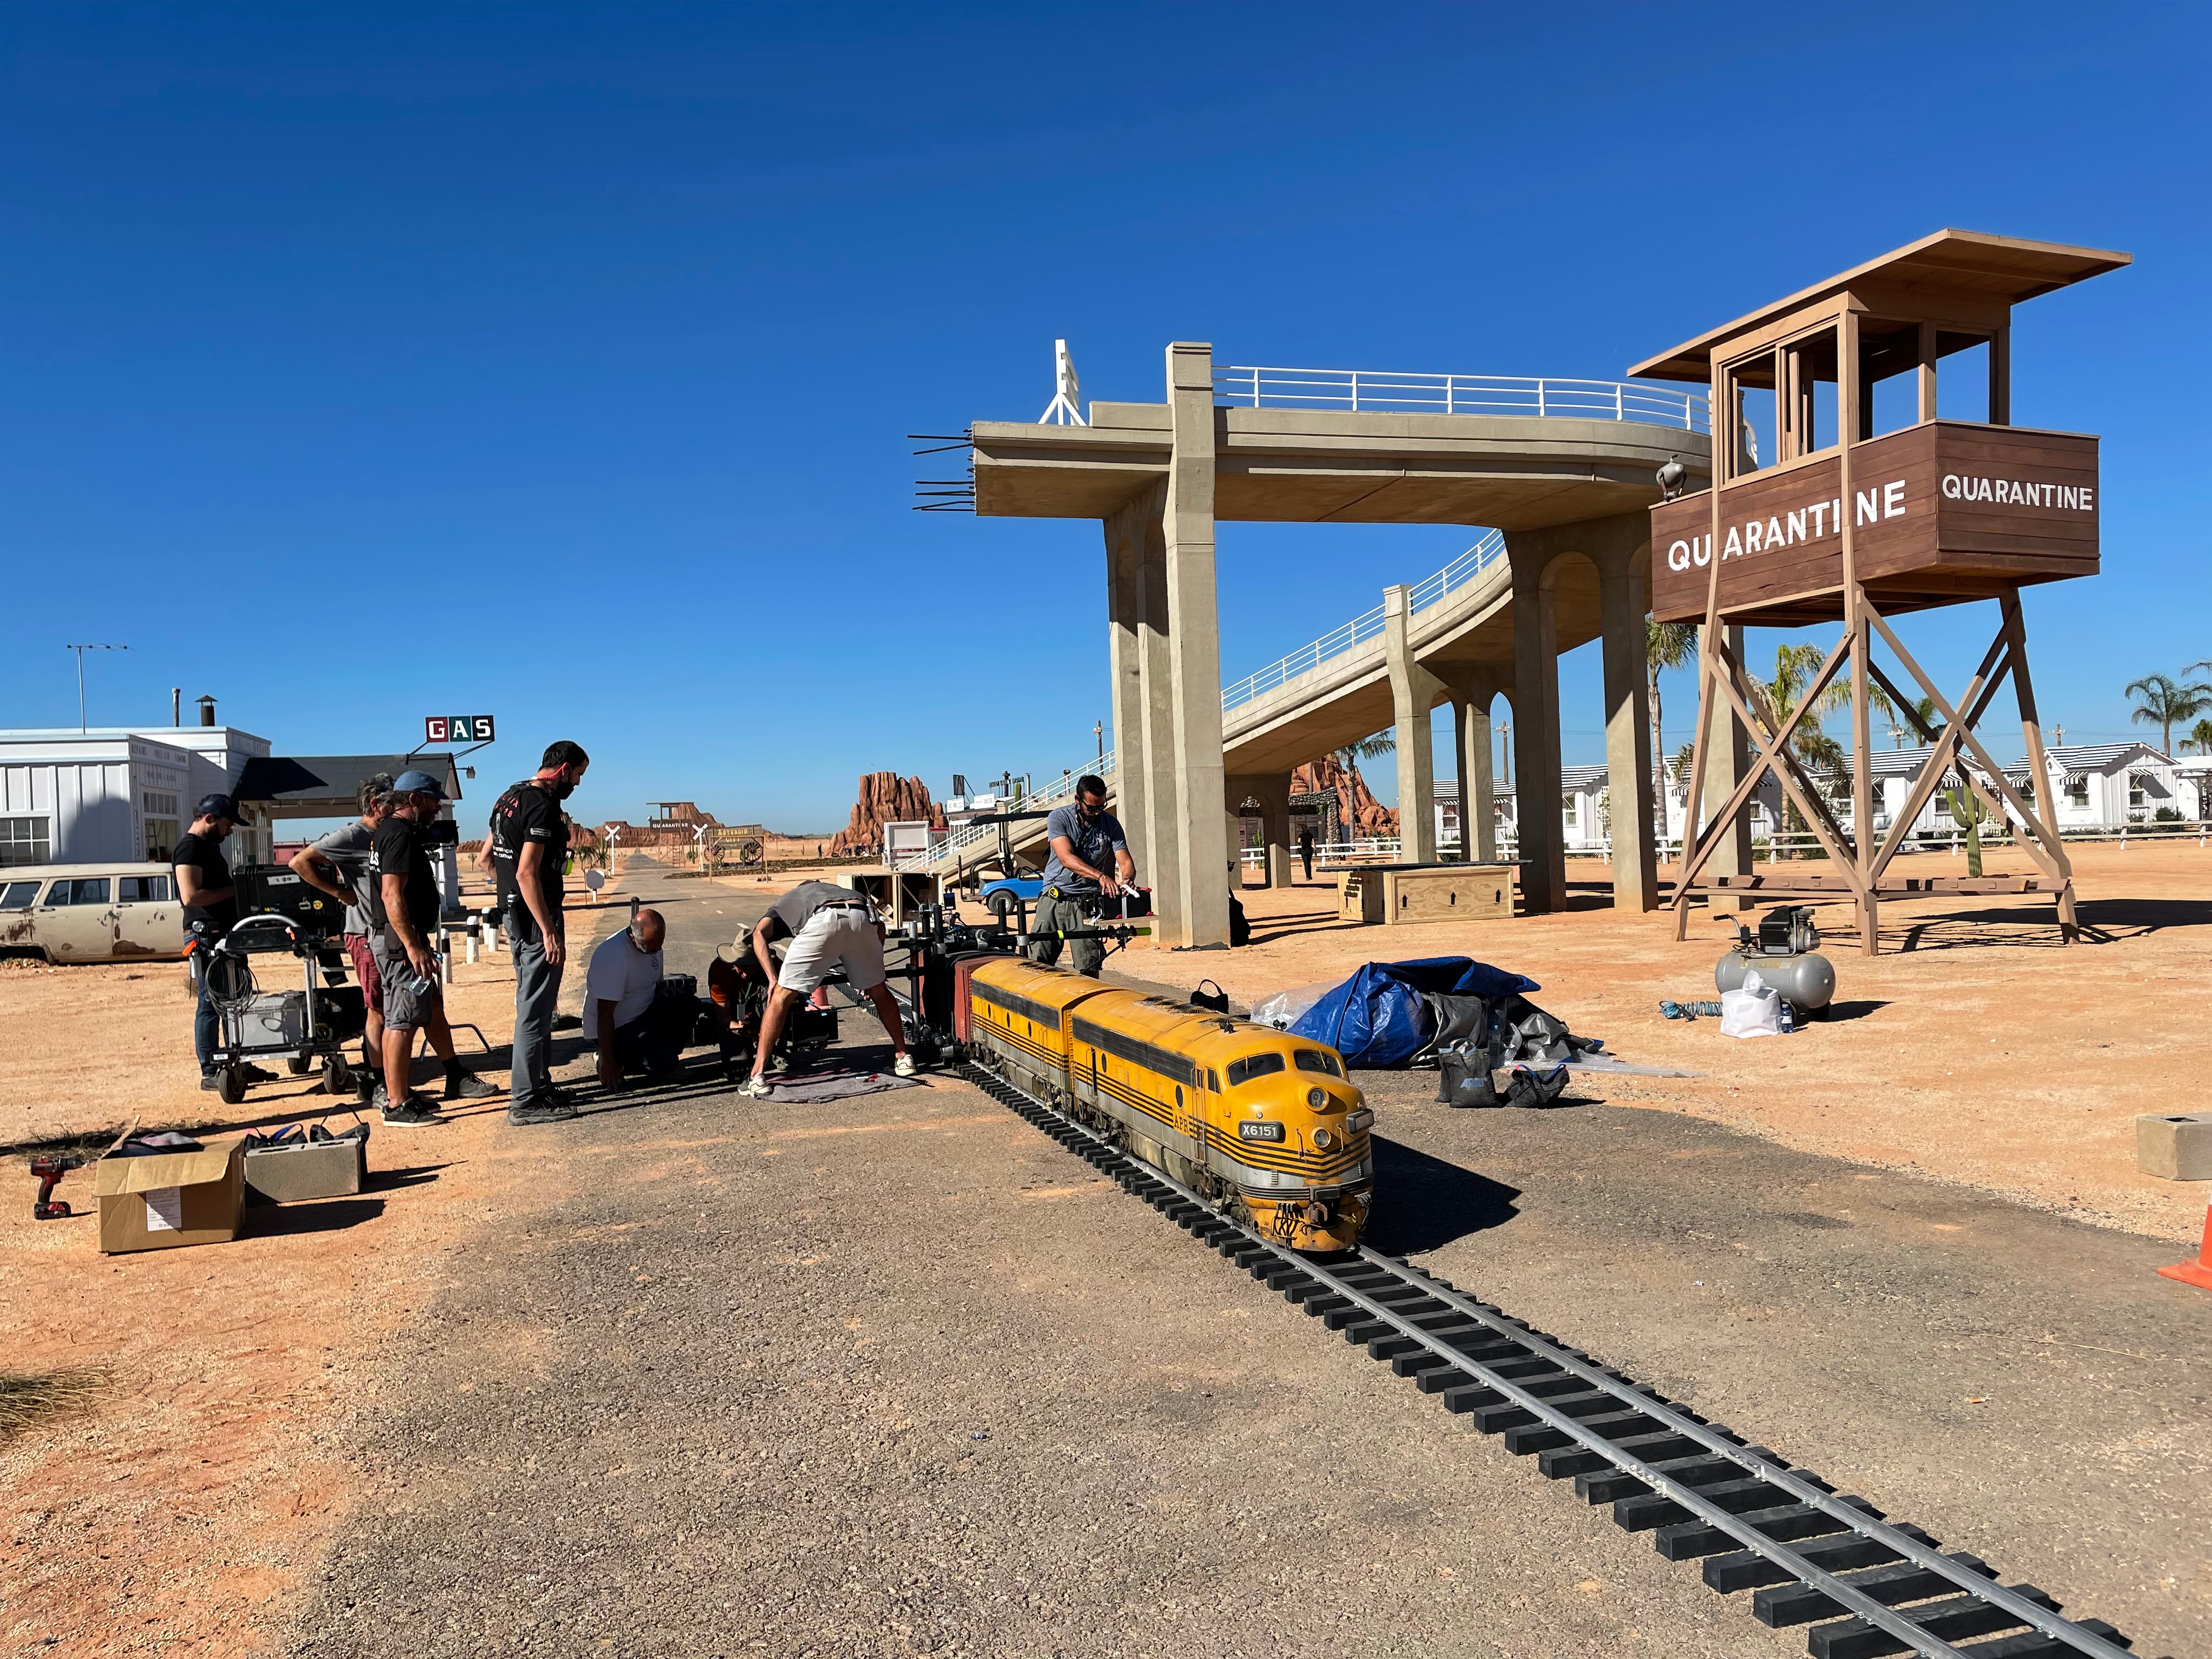
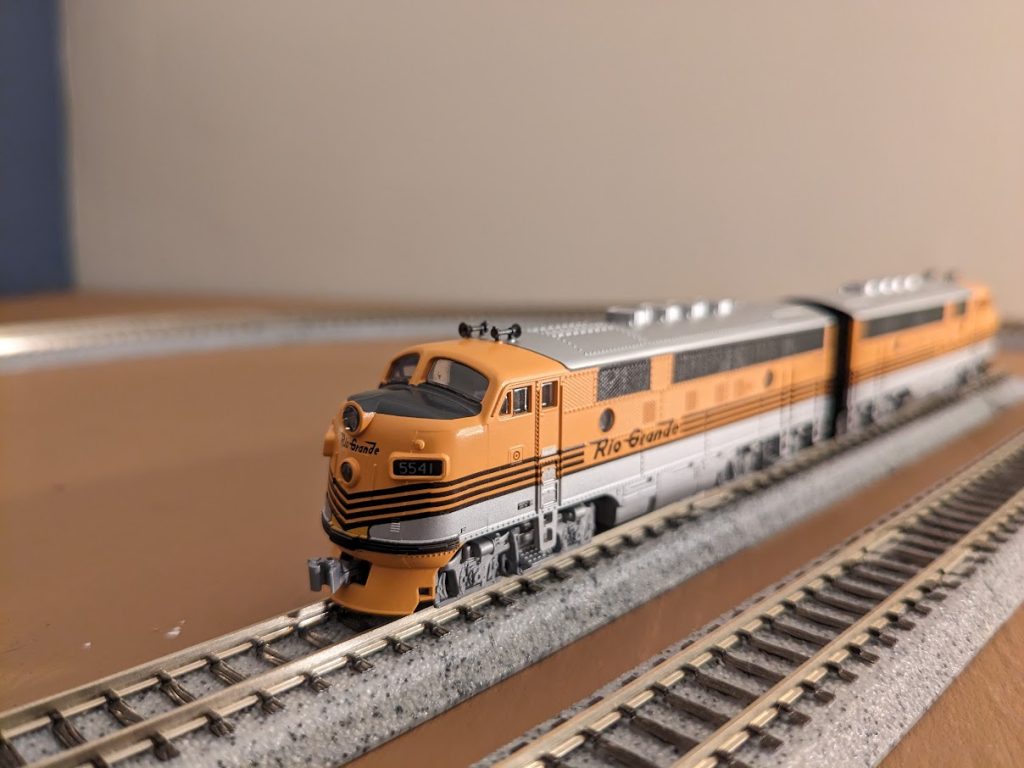
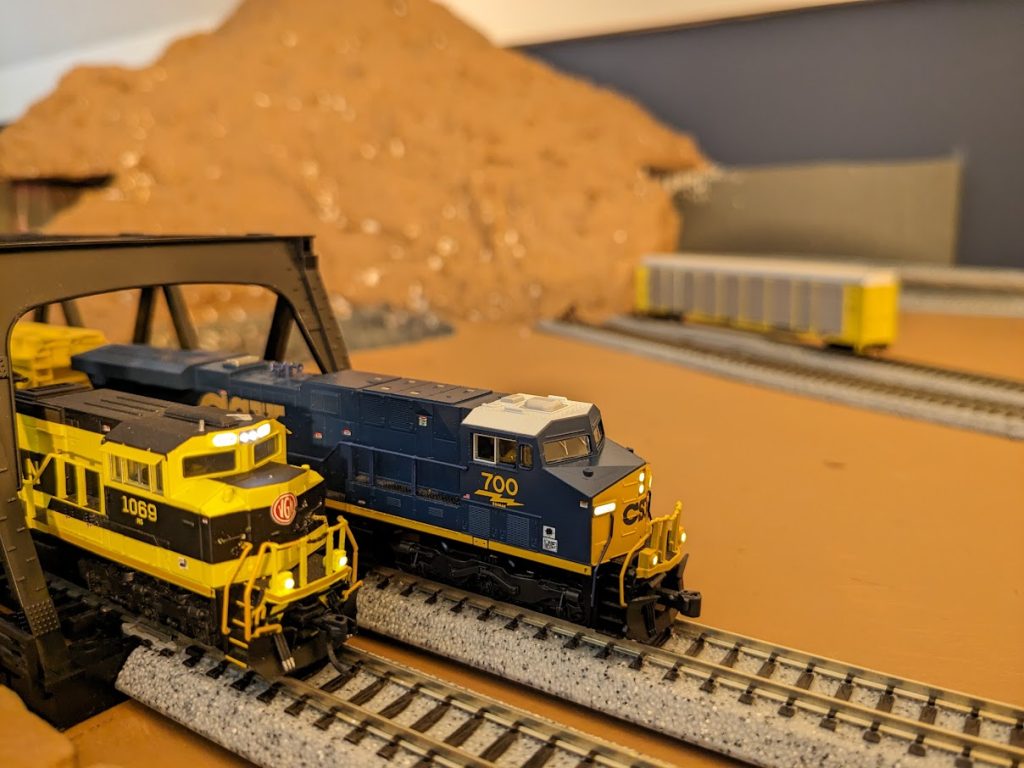
Moving along, after having seen Asteroid City in theaters and immediately recognizing the locomotives to be a near-match for the D&RGW 4-stripe scheme on an F3, I quickly took to eBay and found two Kato F3 A-units (although worth noting in the movie, it appears to be an A-B configuration – I couldn’t find a B-unit):
The units I purchased did not have DCC, so I purchased two Digitrax DN163K0B decoders to install in the locomotives. Being relatively new to N-scale and having installed Decoders in both a Kato and Fox Valley Model before, I thought it would be a piece of cake… and I was wrong.
Both decoders installed easily enough and test running both locomotives with their shells off indicated everything was working as expected… however I found as soon as I snapped the shells back on, the boards would lose continuity and the locomotives would not operate. Both locomotives were consistent, so I knew it had to be a common issue across the design of the board and shell but it was difficult to isolate as the locomotives worked fine with the shells off. Making matters worse, the front coupler design is comprised of four very small parts that would inevitably all jump off each other as soon as the shell was off.
I tried a fair few troubleshooting techniques, including soldering the motor tabs to the boards, adding solder on the conductors on the bottom of the boards to add “dimples” for better continuity and trying to tape the boards down with electrical tape. The electrical tape proved too thick to hold the decoder down and allow the shells to pop back on. I then tried to “prop up” the back of the board with some foam pieces to help stabilize the decoder, but that too proved fruitless.
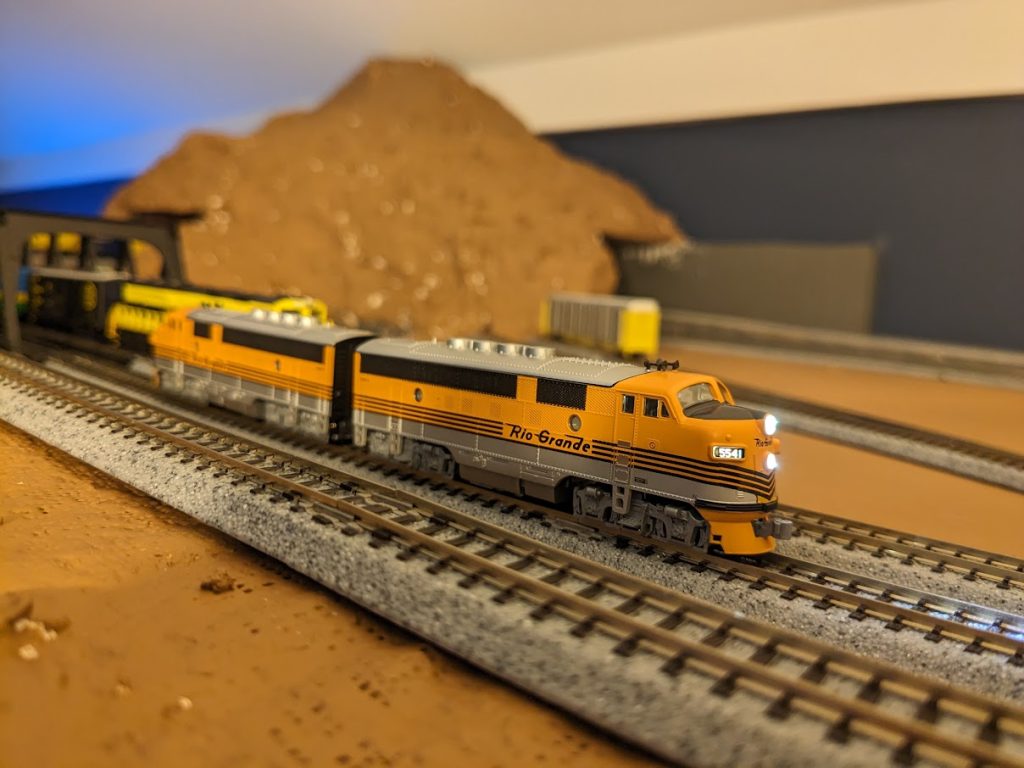
After ordering some polyimide tape and applying it towards the back of each board to tape it down against the frame, all is working now and the locomotives operate perfectly.
I configured a “Multiple Unit” (MU) in my Digitrax controller and run them in forward and reverse. I learned somewhat the hard way that directional lighting is dependent on how the locomotive is configured before joining the MU, so I had to remove and re-add them after fixing the lighting.
Lastly, I’ve found that using Engine Driver on my phone and JMRI to address the MU seems to cause issues (it appears to separate the MU). I’ll need to play with it more to figure out where it’s falling over, but for now I’ve just been using the manual throttle on my Digitrax DCS52 controller
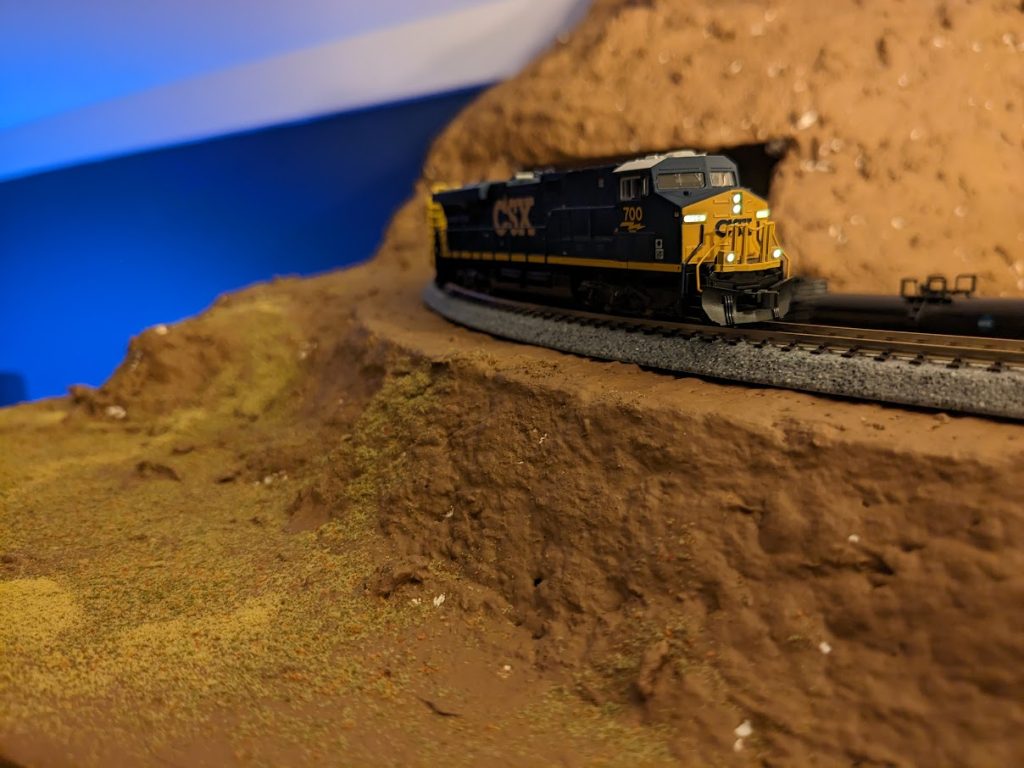
Next up is adding some washes to give the rock and mountain a bit more “depth,” then sketching out where buildings and roads will go, followed by ground cover.