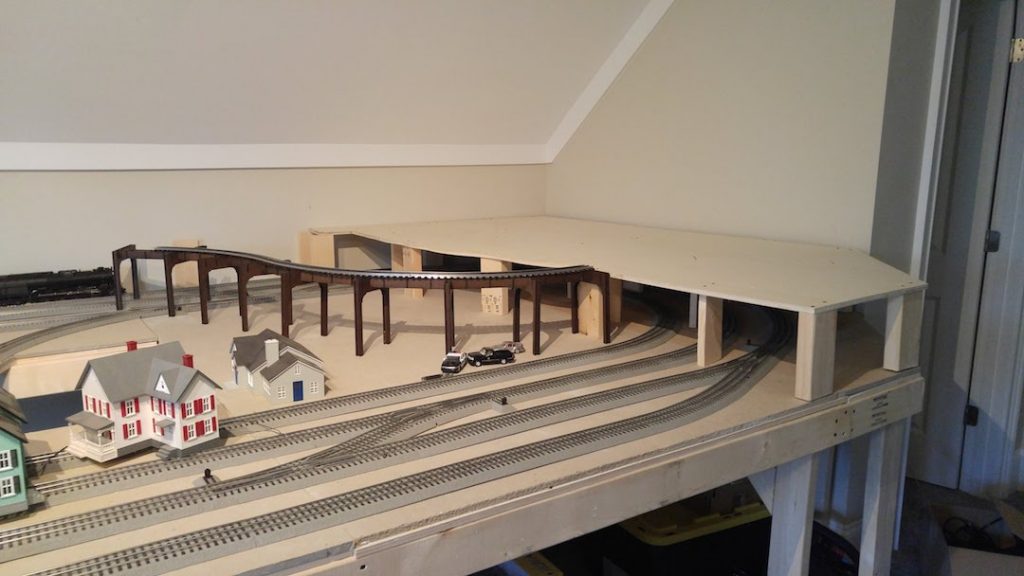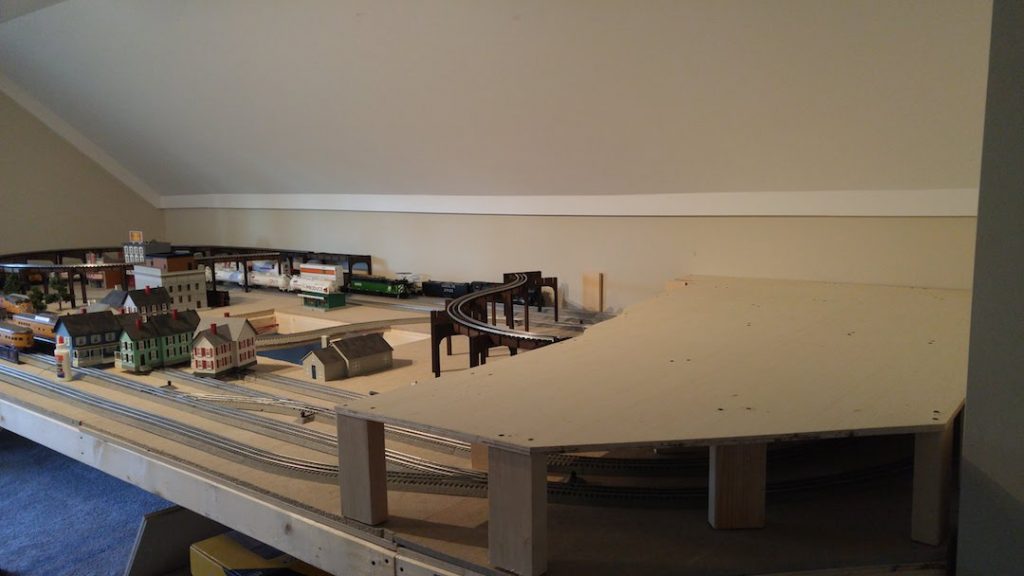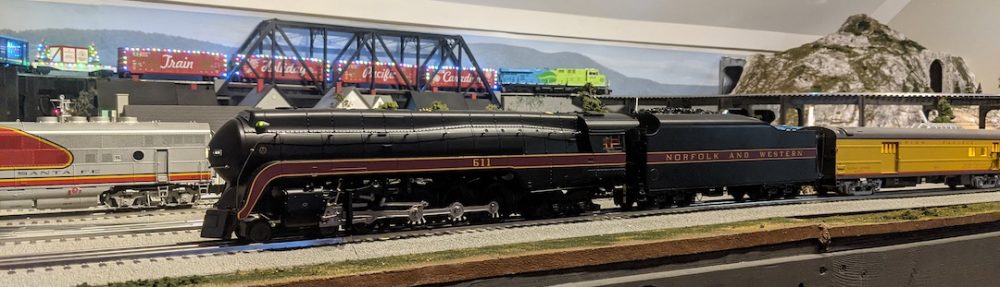
We’ve made some more progress on the layout this week – the elevated section is mocked up with what Gargraves track we have (we’ve ordered some Ross #115 and #116 O-54 switches with DZ2500 controllers from Legacy Station that haven’t arrived yet):
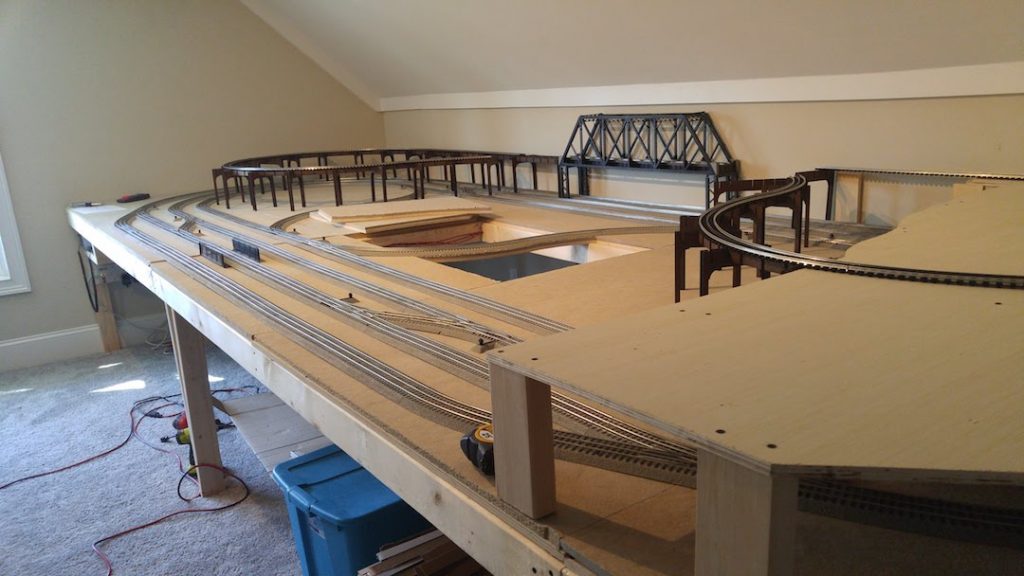
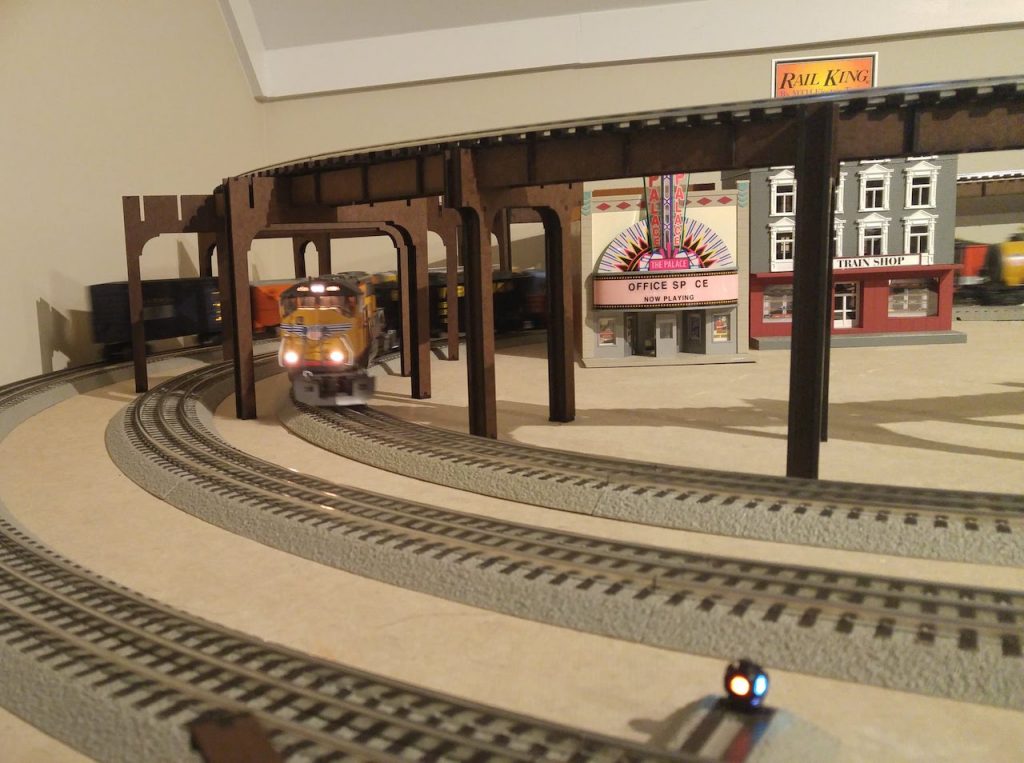
I also built some custom bridge supports using ABS H- and I-beams from Plastruct. It was an interesting exercise – we spent a good 3-4 hours on the whiteboard dusting the cobwebs off our High School trigonometry and geometry knowledge to ensure our angles and lengths were correct. SOH CAH TOA was quite handy and we were able to calculate all of our sections lengths and angles. We’re pretty happy with the end result – the bridge height is perfect and it clears double-stack intermodal cars:

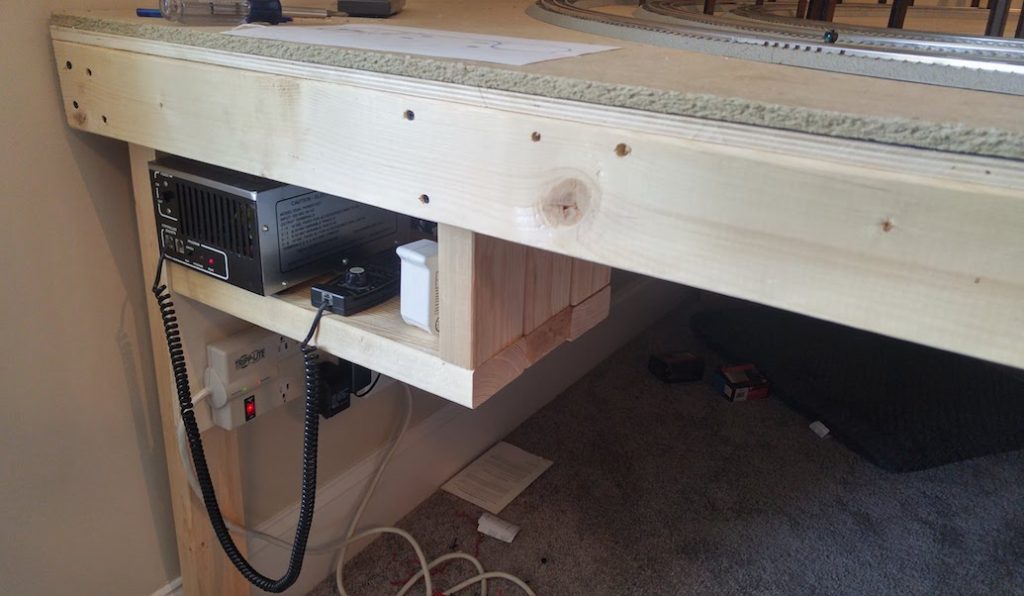
We were originally was using a Lionel ZW-C transformer with two 180 watt power bricks to power the layout, but given that we’re using DCS Wifi/WIU for most of train control, we didn’t really have a strong need for the throttles or buttons on the transformer and we don’t need the TMCC integration since track power can now be controlled via DCS – it actually became a bit of an annoyance since with throttles 1 and 4, every time we’d power the transformer up, we’d have to use the TMCC Cab-1 to “soft throttle” the voltage up. Furthermore, when I went to run some old PS1 locomotives, I found there was what appeared to be a DC offset where the horns would blow constantly, as described in this OGR Forum Post. I considered splicing my 180watt power supplies directly into my DCS TIU as Eric notes in this YouTube video, but doing so would forfeit any traditional throttle control of the track power, and we found the MTH DCS Wifi App to occasionally require “refreshing” to control track power, so having a physical “fail-safe” would be beneficial. Additionally I’d lose accessory outputs, which means I’d have to rig up another separate transformer somewhere like Eric does on his layout, which is not what I wanted to do (we’re all about minimalism in Slottown). So after a bit of hemming and hawing, I decided to build a small shelf for an old MRC Dual Power O-27 I had in storage. The benefit of the dual power is it’s low profile, still gives us the option of manual throttle control, and it has both constant 12v and 14v output for accessories. At 270 watts, it should be sufficient to power the whole layout, including accessories and trains. The only downside is there’s no easy way to wall mount it like my other control packs so it requires a shelf. I had to temporarily disassemble the control board to secure the shelf, but ultimately I’m happy with the end result.
Lastly, I purchased a used MTH DCS AIU at a local train show this weekend, so I created a new mounting board for it and mounted it. I did have to purchase a new TIU to AIU cable, since the included one from the factory was missing from my train show purchase, so I purchased a 6P6C reverse cable on Amazon. In retrospect, I wish I had just bought a new one at the store rather than save the ~$20, but it was an impulse purchase.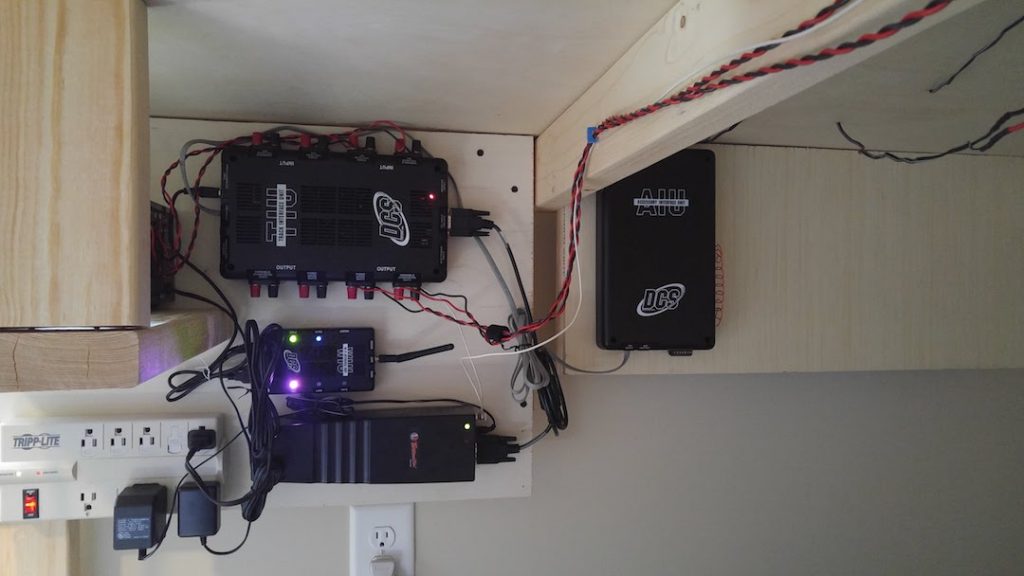
Next up, we’ll be removing everything from the table top and painting the homasote with brown latex paint to help seal out moisture and prepare for ballast and scenery. We’ve ordered 5 bags of Brennan’s Better Ballast. We will also be painting the BridgeBoss bridges and the ABS supports I built using black latex paint.