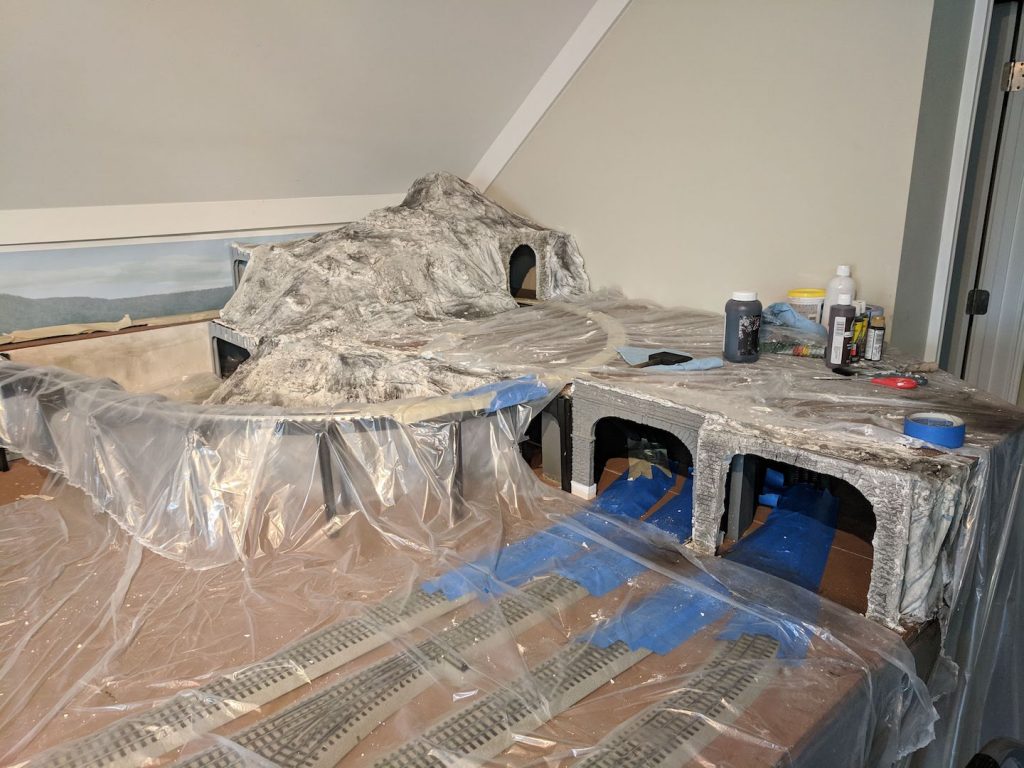
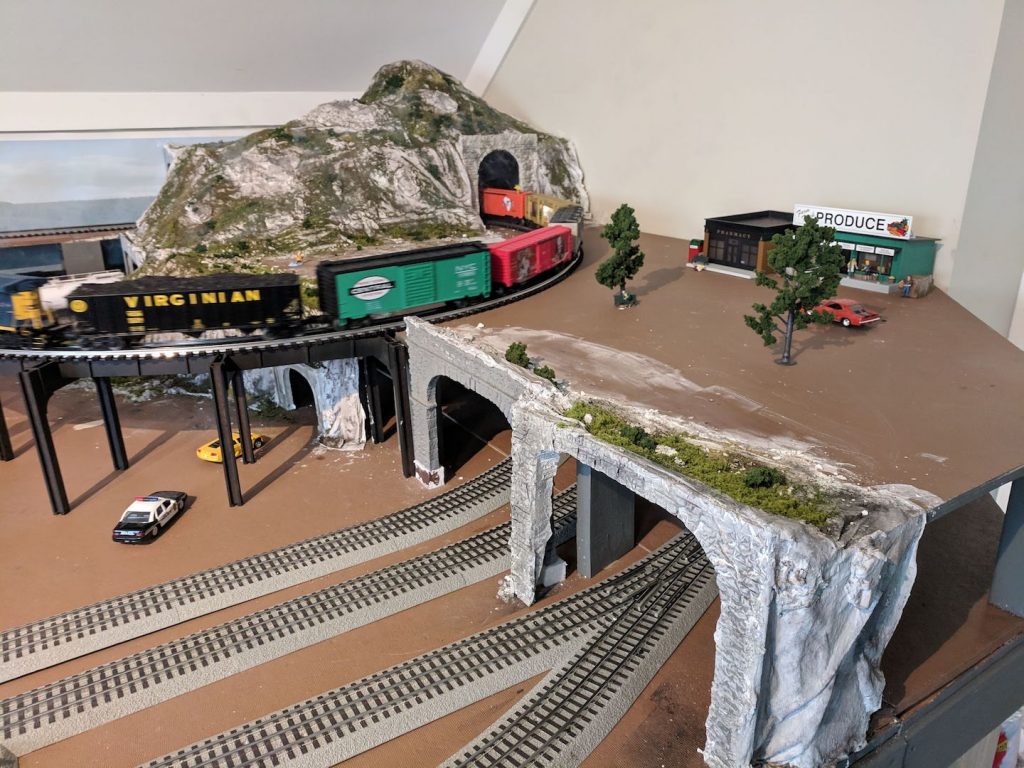
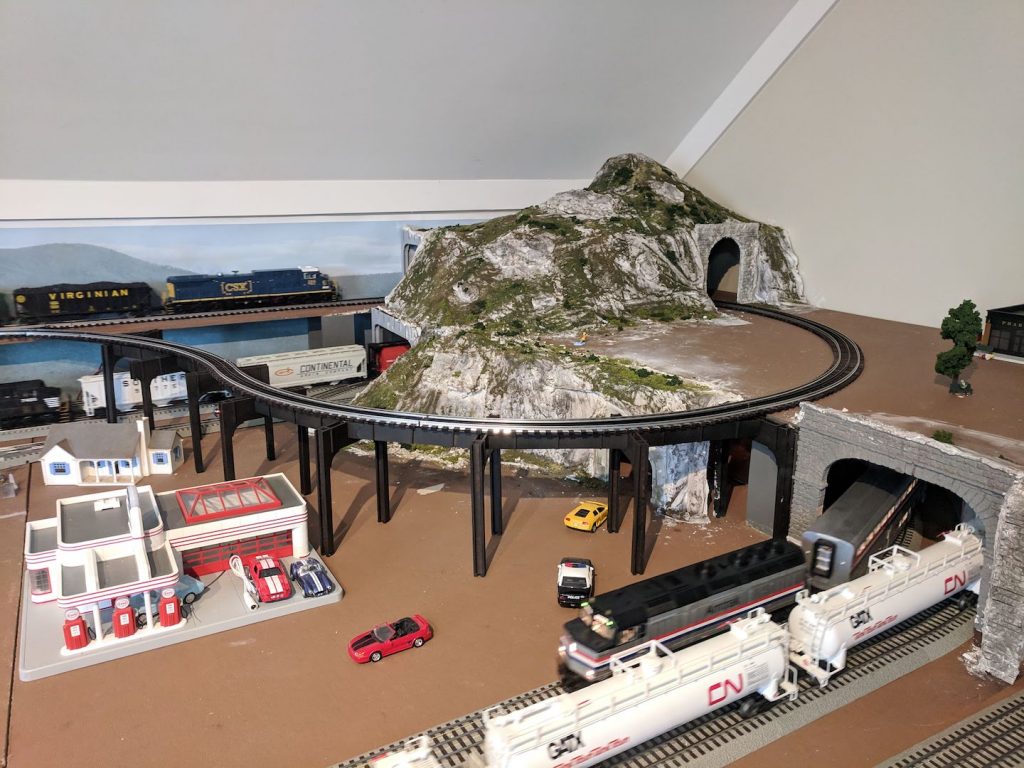
True scenery has begun! After lots of hemming and hawing (mostly on my part), we masked off the track and table and set to work laying down hard shell on top of the cardboard lattice sub-structure using hydrocal and paper towels (we used the blue shop towels since they are more absorbent and stronger, without dimples). It was about as messy as you’d expect but we masked well and covered all of the rails. After letting the hydrocal hardshell setup, we then proceeded to apply a number of paint washes using black tempura powder paint, Woodland Scenics stone grey, and Woodland Scenics brown. We opted for more grey than brown to simulate exposed stone, using our local Stone Mountain and Appalachians as our inspiration (although we know the geographic origins of the two mountain types are very different) – the idea that since our mountain is relatively small, it’s been mostly eroded away down to stone. All told, we probably did four washes with the stone grey and three with brown

After letting the washes dry, we proceeded to apply ground cover. We mixed a 50/50 mix of Elmer’s glue and water, then starting with Woodland Scenics fine ground covers (earth, green grass, and burnt grass). We then applied a wetting agent (water with a few drops of dish soap), then applied another top layer of the 50/50 mix of glue and water. We repeated the procedure with some course ground cover again.


Hat tip to Eric Siegel and his YouTube series, where we used his “Building O Scale Mountains” for our washes and scenery
Next up, we will likely add some small trees to the mountain, lay down our roads, then start laying down additional ground cover on the homasote. We also need to cut out footprints for a few of the buildings that have too-tall of bases (MTH gas station, bank, and train store).
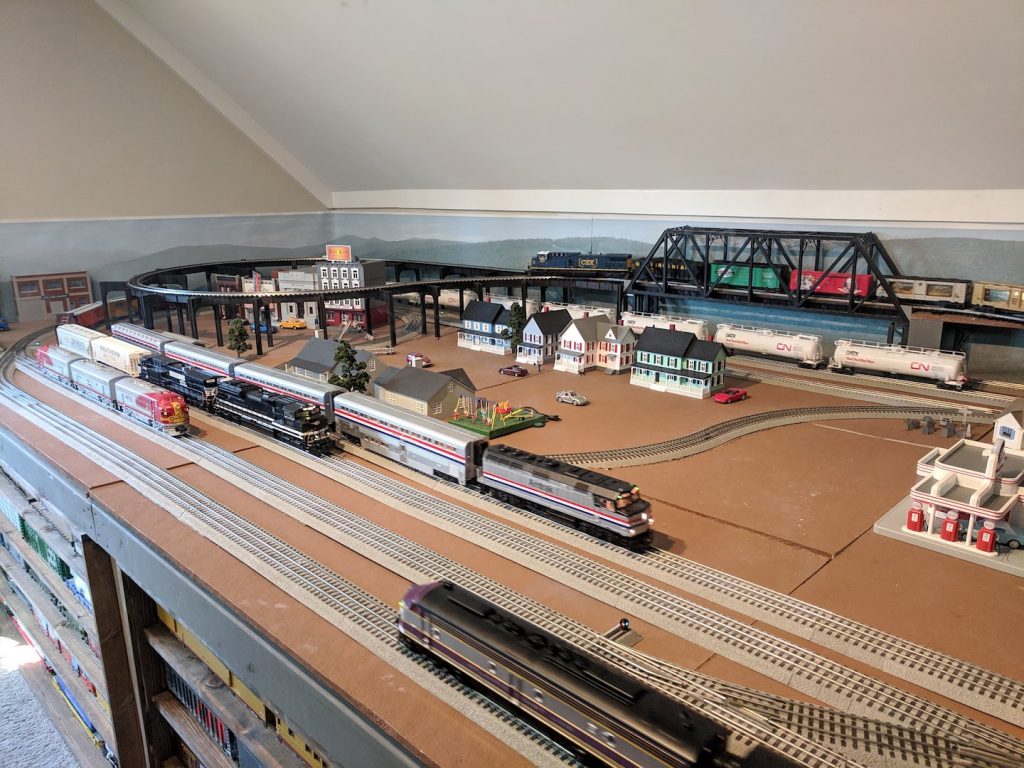
For now, we’re just happy to be able to run trains again since all of the masking tape and plastic precluded us running trains for a little over a month.
