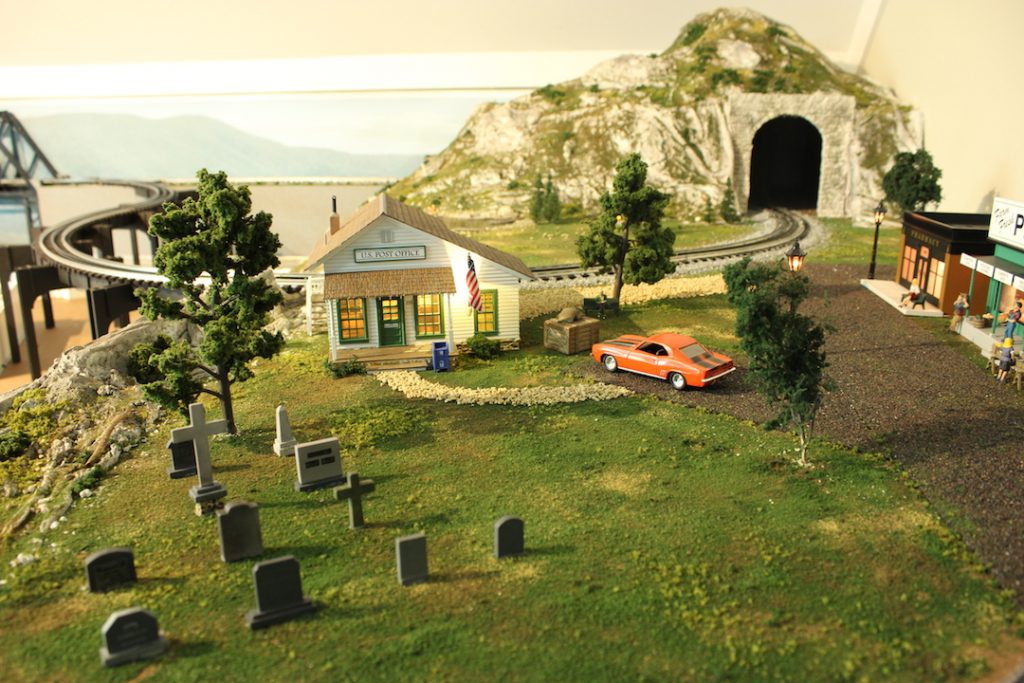
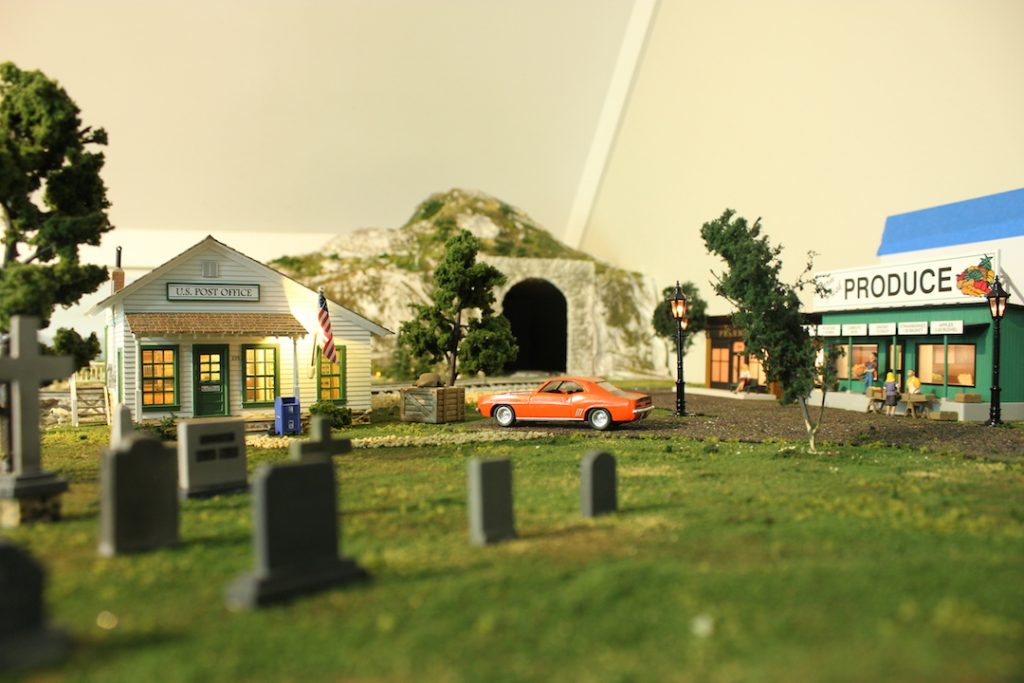
We’ve continued our efforts in scenery in earnest this past weekend, where we focused on completing the upper level scenery with grass, trees, paths, roads, street lights, and a little camp fire.
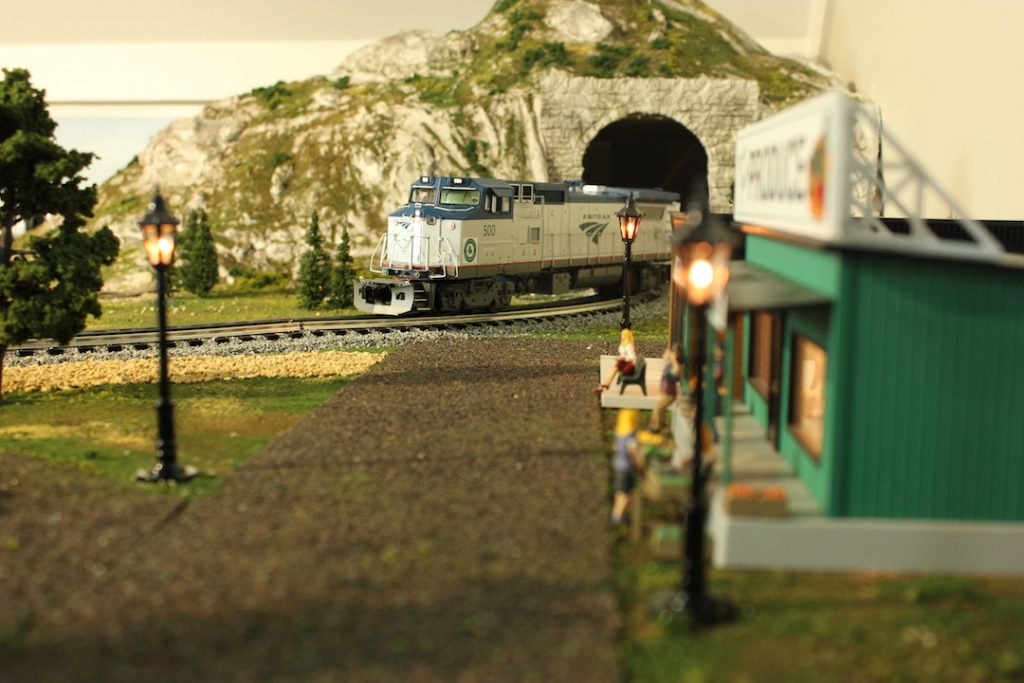
The street lights and campfire were a bit more difficult to wire up than other accessories due to their location. I had already run power leads for the street lights (yellow and white) to under the upper platform, but I didn’t install the lamps at the time since I wanted to get scenery down first and I needed to come up with a creative way to keep the wire leads well up and away from the level one tracks (so trains going through the tunnels don’t snag the leads). I ended up solder the street lamps to the leads then using hot glue to “tack” the leads up against the underside of the second level, which keeps them well out of the way of the trains.

For the remaining scenery, we laid down ground cover (a mix of fine Woodland Scenics Fine Turf Green Grass, Earth, Yellow Grass, and some medium turf). We then ballasted the GarGraves track using Brennan’s Better Ballast. For both the Ballast and the ground cover, we used the technique of:
- Lay down a base of 50/50 water/Elmers glue with either a spray bottle or eye dropper
- Sprinkle/pour turf or ballast
- Use “wet water” (50/50 mix of isopropyl alcohol and water) on top of the turf or ballast to break the surface tension
- Additional layer of 50/50 water/Elmer’s glue to “lock in” the materials
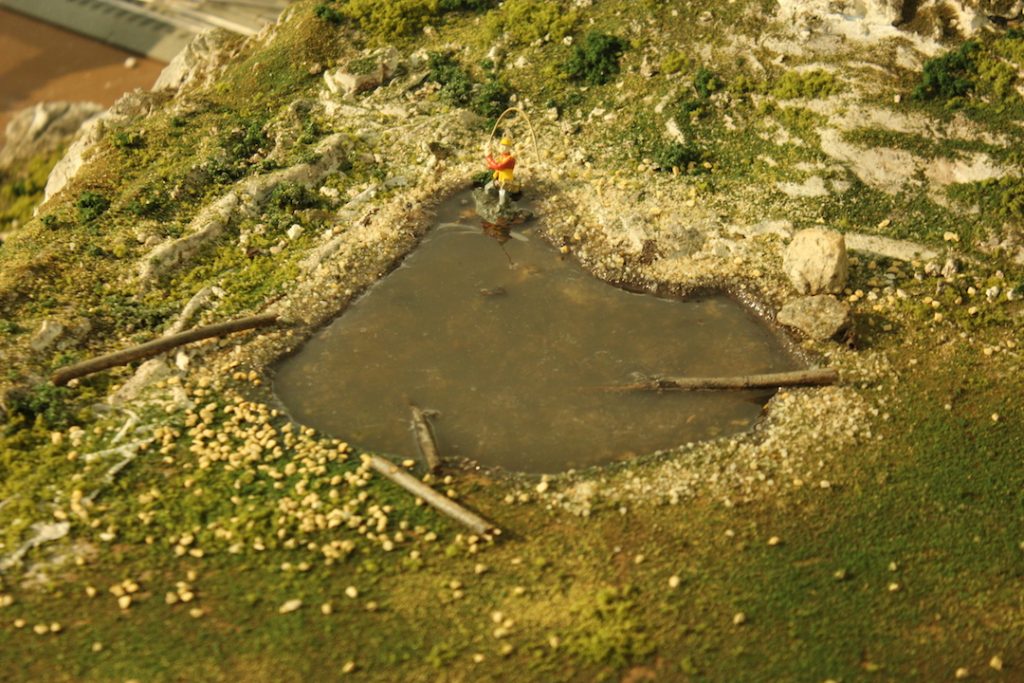
For trees, we drilled small holes in the table top and “planted” the trunks of the trees in to the holes. We still need to glue down the figures, I haven’t decided what glue I want to use for them just yet – hot glue is too “stringy,” gorilla glue gel is too permanent, so I may pick up a bottle of Woodland Scenics “scenic cement” instead.
Lastly, I finally glued in the far retaining wall in place and was able to then finish the BridgeBoss supports under the track by simply gluing the ends to the wall itself:
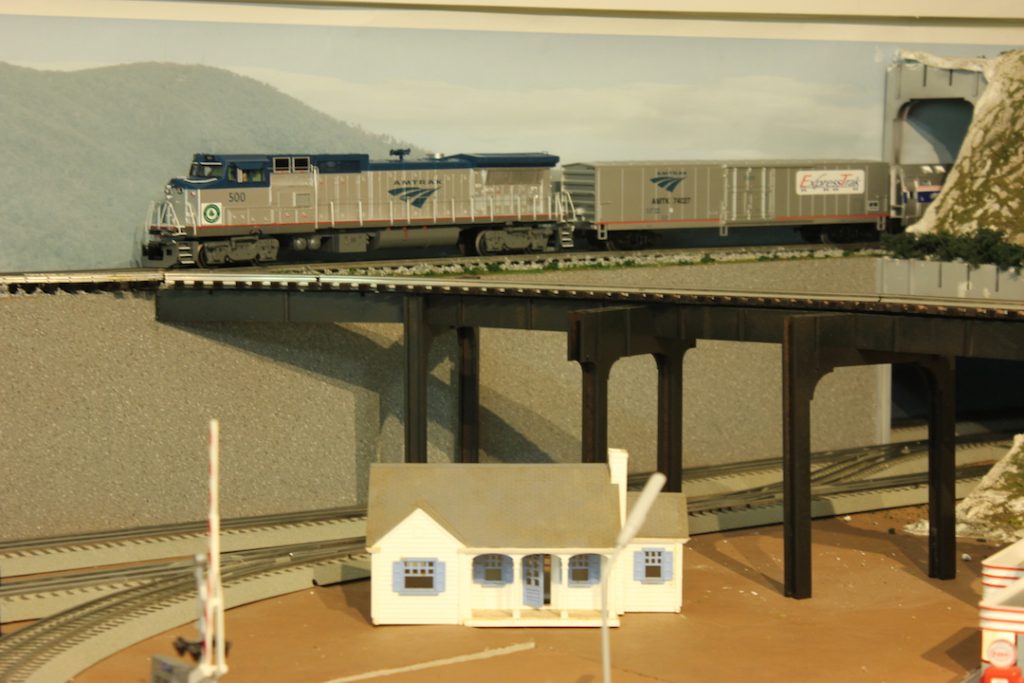
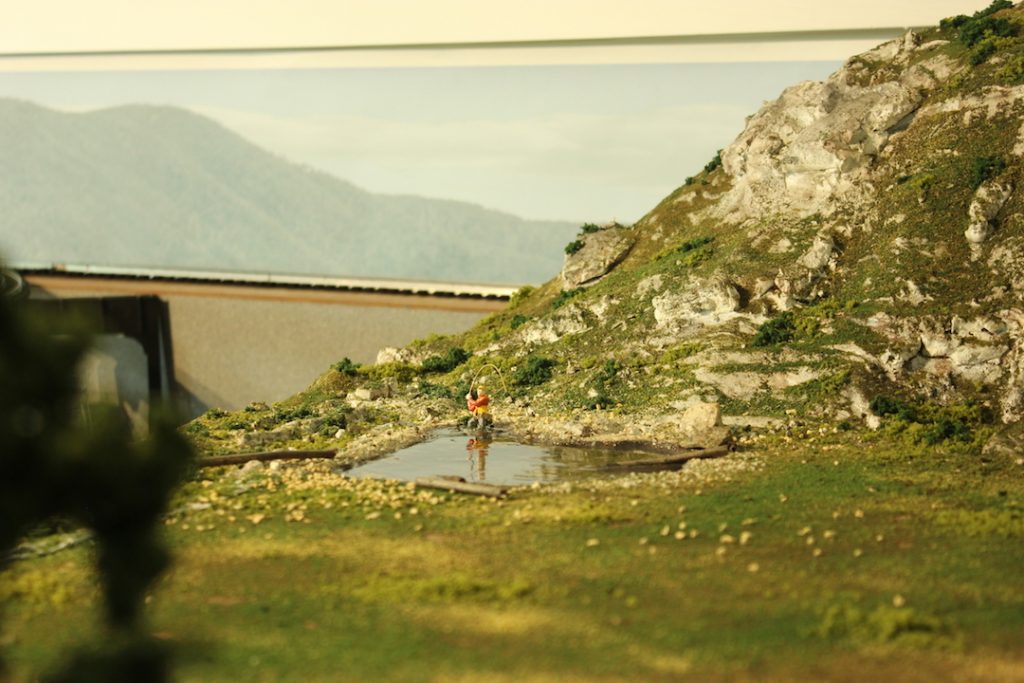
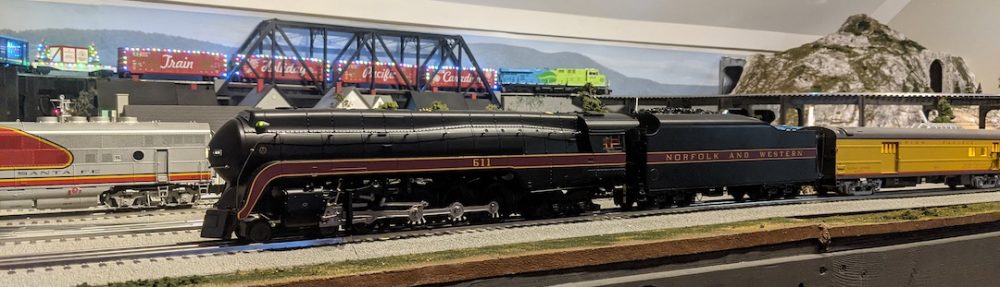
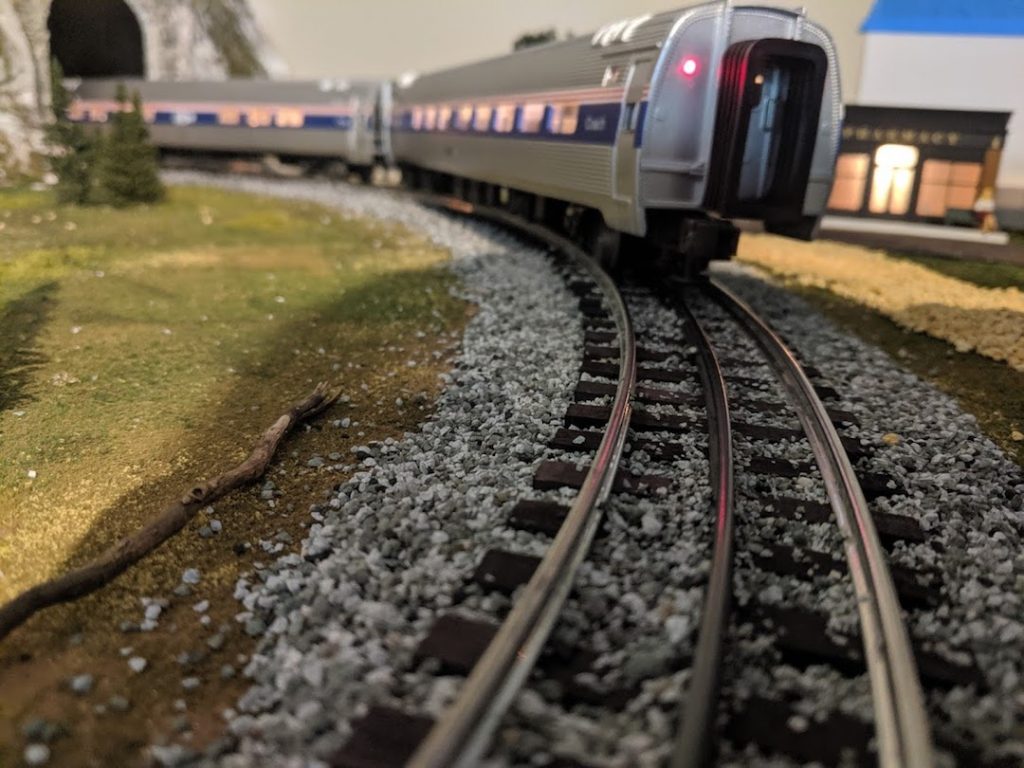
Here are a few glamor shots of the work:
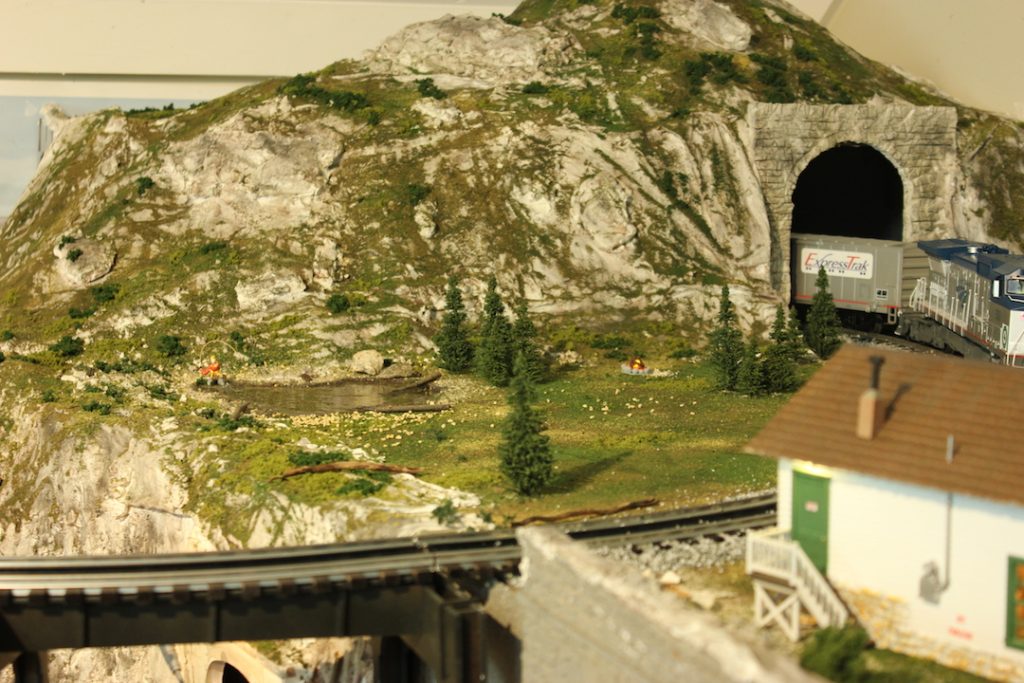
Next up, we need to add additional figures by the camp fire scene – we’re currently playing with some ideas on how we want to make a tent/etc for that so stay tuned. We also need to add in road signs and some additional little details, but the top level is pretty much “done” for now!